I liked how this blog had the spider go up and down on a string. I searched on Pinterest for other ideas and came across this
blog. I liked this version even better. It was cuter and I liked how it had the flip to go from sunny to raining.
For my version, I did a little bit from both blogs. I pretty much modeled it after the second flip blog. I made the template for the water spout from that page (tracing it from my computer) but I decided not to do the flip for the spout.
I spent a little extra time on the house- I decided it needed to be a brick house lol. I'm not sure why I decided to make it so complicated but it turned out nicely.
For the spider, I just cut out a black oval from stiff felt and then free styled some legs and sewed the legs to the body.
I stitched in a smile using red thread and on the back of the spider, I sewed on a black strip so I could slip ribbon through.
I had googly eyes so I used those instead of sewing eyes because I think they look cuter than beady sewn eyes.
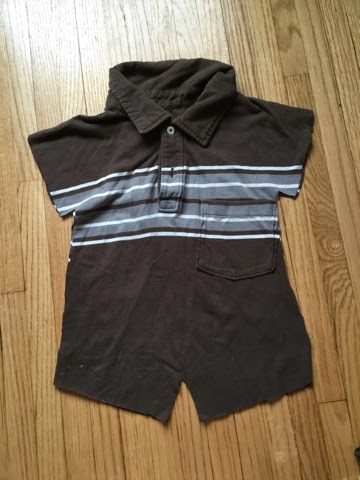
Work in progress: spider with some of the bricks for the brick wall
I threaded a ribbon through the back of the spider and then attached the ribbon to the top and bottom of the water spout.
For the background, I used simple green felt for the ground which I fringed the top to make it look like grass. I cut two squares- one light blue and one dark blue and I sewed one edge of each color together. I then sewed the opposite edge of the dark blue to the top of the page and the other edge of the light blue below the grass. Then I sewed the middle of each color to the Pellon beneath it so that the square folded and created the flip.
I added grey clouds to the dark blue side. I just free style cut the clouds and added a red stitched smile and googly eyes before sewing it to the page. I liked how the one blog had the ribbon as the rain and originally I was going to make it like they did with felt raindrops. But when I cut out the raindrops I decided it wouldn't look good once it was stitched to the ribbon because it was too small. Instead, I decided to use the light blue heart beads that I had leftover from the
abacus page I made.
In retrospect, I should have sewed the ribbon under the clouds BEFORE I sewed the clouds to the page. But I didn't so it was a bit more challenging to add. I had to tuck the ribbon in between one of the stitches and the try to sew the ribbon down by going over the stitching in the clouds. It was much more complicated than it needed to be. The lesson here is plan out your page BEFORE you start sewing to avoid making extra work for yourself.
For the light blue side, I added a sun, which was just a yellow circle with a red stitched smile and googly eyes. I was going to add sun beams but it looked dumb. The page seemed pretty bare so I added a white cloud and a flower to it. I wanted to add a bee to the page as well because the sunny page still looked bare even with the flower but if I added the bee, the rainy page just like chaotic since it had the raindrops as well.
Since the flower had to be on both the rainy and sunny page, I basically cut out two of each shape/color and then sewed them to each page. I tried to make them look as identical as I could. I added googly eyes to each flower and one stem for both pages.
This is another page that Koala likes but she mostly plays with when I play with her because she likes when I sing the itsy bitsy spider song. Although these days, I sometimes catch her playing with it and going through motions of having the spider climb up, then the rain falls and the spider falls down. But she still enjoys it best when I sing it to her.